











How to Prime a New Vape Coil Without Burning It: A Guide to the Perfect Draw
Imagine setting up for a quiet, relaxing evening at home. You have your favourite e-liquid ready, the room is warm, and you are looking forward to a smooth, flavourful vape to unwind. You open a fresh packet, install a new coil, fill the tank, and take your first draw.

A person relaxing at home with a vape device and e-liquid, preparing for a quiet evening.
Instead of a lush cloud of rich flavour, you are hit with a harsh, acrid, incredibly dry burnt taste that leaves you coughing.

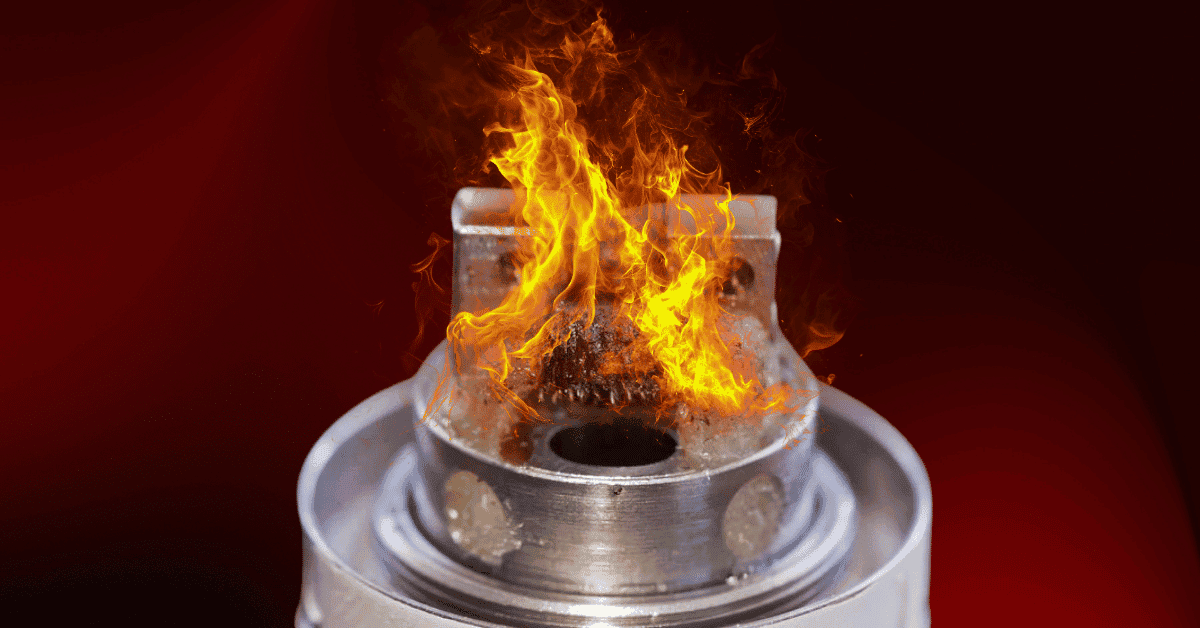
A close-up image of a damaged vape coil with visibly burnt and charred organic cotton wick fibers.
That instantly recognisable, unpleasant experience is what vapers call a dry hit. It is the ultimate mood killer, and unfortunately, it usually means your brand-new coil is ruined before you have even had a chance to enjoy it. The culprit? Skipping the simple, essential ritual of priming.
Priming is the gentle art of preparing your coil's wicking material before you introduce it to heat. By taking a few mindful minutes to ensure your setup is properly saturated, you can protect your equipment, enjoy pure flavours from the very first puff, and significantly extend the life of your coil.
Inside Your Vape Coil: The Science of the Perfect Sip
To understand why priming is so important, it helps to look at the quiet mechanics operating inside your tank.
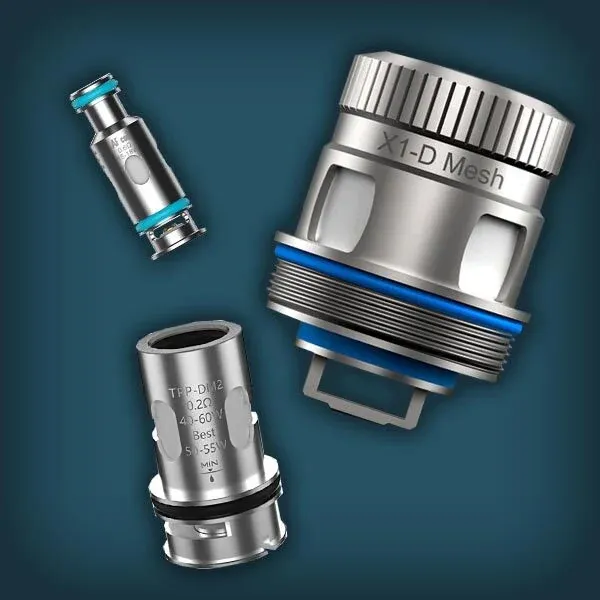
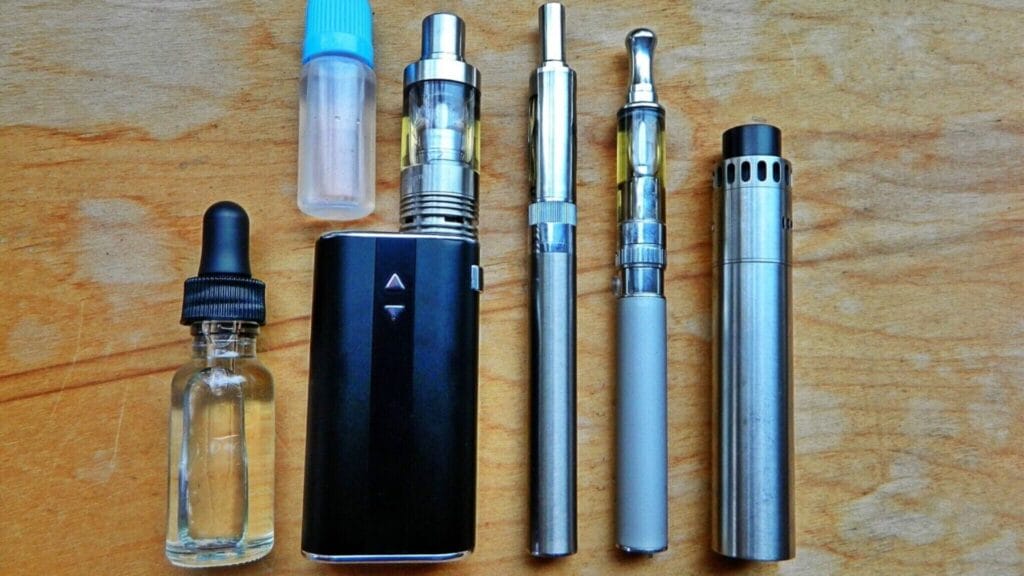
At the heart of every vape is a small metal cylinder known as the coil. Inside this housing sits a delicate pairing: a metallic heating element and an absorbent wick. The heating element is typically crafted from metals like Kanthal, modern mesh designs, or clean-tasting stainless steel. Wrapped tightly around or nestled against this metal is the wicking material, which is almost always made of highly absorbent organic cotton.
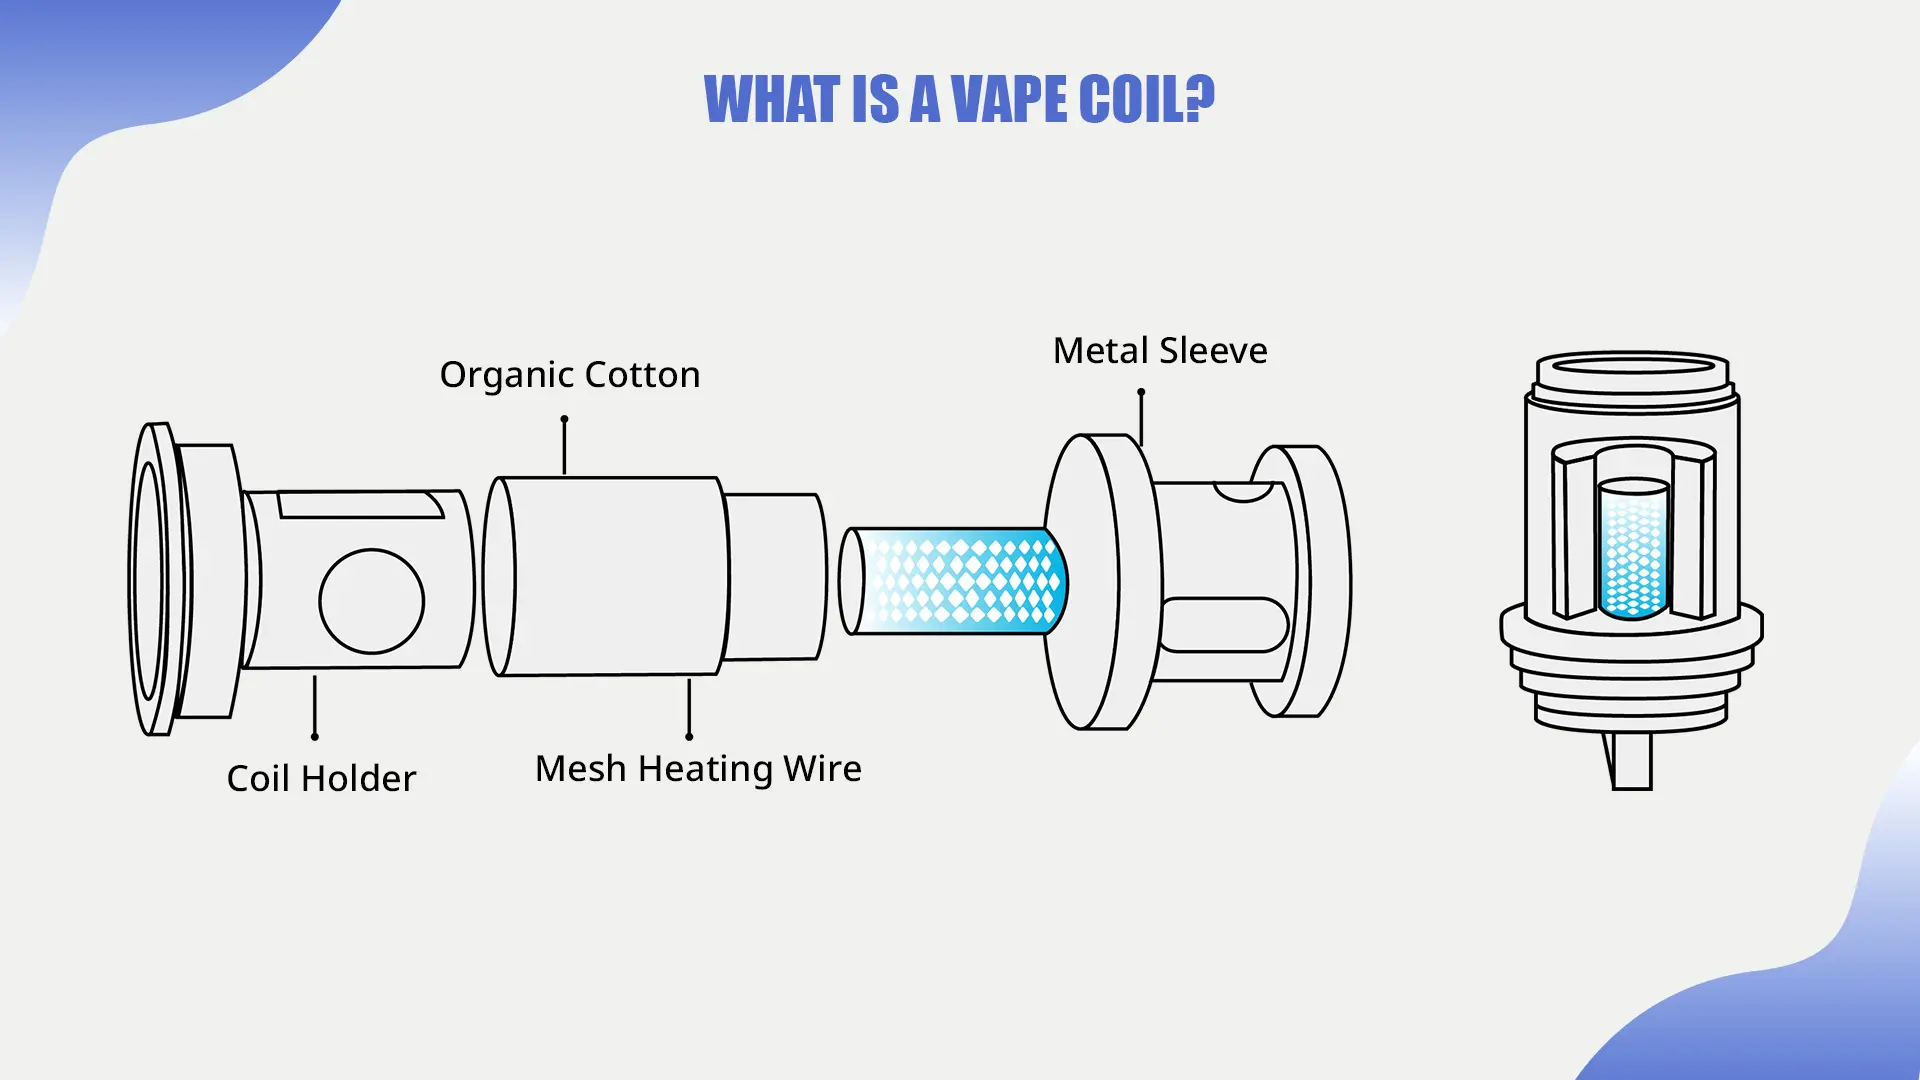
A detailed cross-section diagram or close-up image showing the internal components of a vape coil, including the metallic heating element and cotton wick.
When you press the button on your device, an electric current flows through the metal heating element, causing it to warm up rapidly. In a perfect scenario, the cotton wick surrounding this metal is thoroughly drenched in e-liquid. As the metal heats, it instantly vaporises the liquid held within the cotton, creating the smooth, aromatic clouds you enjoy.
However, cotton is a natural fibre. When it is completely dry, it is highly flammable. If you send electrical power through the metal element while the cotton is still dry, the heat has no liquid to vaporise. Instead of boiling e-liquid, the hot metal directly scorches the dry cotton fibres.
Once organic cotton is singed, the damage is permanent. The charred fibres will continue to taint every single draw with a bitter, burnt taste, no matter how much liquid you put in the tank afterwards. The only solution at that point is to throw the ruined coil away and start over. Priming is simply the process of making sure that cotton is safely, deeply saturated before the heat is ever applied.
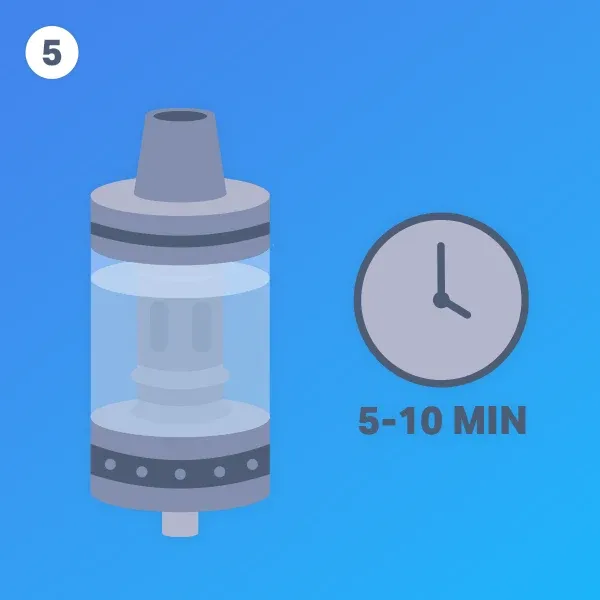
A vape device with a newly filled tank sitting undisturbed on a flat surface, emphasizing the essential waiting period for coil saturation.
The Step-by-Step Guide to Priming Your Coil
Priming is not a difficult process, but it does require a touch of patience. Treating it as a relaxed, satisfying part of your vaping routine ensures you get the best possible experience every time.
Here is how to do it properly.
Step 1: Inspect Your Coil
Unpack your new coil and hold it under a good light. Take a moment to familiarise yourself with its anatomy. You will notice small, round or rectangular windows on the metallic sides of the coil. These are the wicking ports, where the white organic cotton is exposed to the chamber of your tank. You will also be able to look down through the top of the coil to see the central heating element and the inner layer of cotton.
Step 2: Apply the First Drops
Holding your coil comfortably, take your e-liquid bottle and gently apply a single drop of liquid directly onto the exposed cotton in each of the side wicking ports. Let the dry cotton drink it up.
A hand holding a new vape coil while applying a drop of e-liquid directly onto the exposed cotton wick in a side wicking port.
Next, look down through the top opening of the coil. Carefully add one or two drops of e-liquid directly onto the inner cotton lining. Be careful not to flood the centre of the coil; you want to moisten the cotton fibres, not pool liquid inside the airflow tube. This initial step kickstarts the capillary action, drawing the liquid deep into the centre of the tightly packed cotton.
Step 3: Assemble the Tank
Once the cotton ports look slightly damp and have lost their stark white, dry appearance, gently screw or push the coil into your tank or pod housing. Ensure all seals are tight and everything is aligned correctly to prevent any leaks.
Step 4: Fill the Reservoir
Slide open or unscrew your tank’s top cap and fill the reservoir with your chosen e-liquid. We recommend filling it to about eighty percent capacity. This leaves a small pocket of air at the top, which helps maintain the correct vacuum pressure inside the tank, ensuring a steady, reliable flow of liquid to the wick as you vape.
Step 5: The Essential Wait
This is the most crucial step of all: the wait. Set your device down on a flat surface and leave it alone. While it can be tempting to take a draw straight away, letting the tank sit undisturbed for at least ten minutes is the absolute best way to guarantee complete saturation.
A person coughing with a look of disgust after experiencing a harsh, dry burnt vape hit.
During these ten minutes, the e-liquid in the tank slowly permeates every single microfibre of the inner cotton. It is a great moment to step away, make a cuppa, or simply enjoy a quiet break.
Gently Breaking In Your New Coil
Once you have waited patiently and your coil is fully saturated, you are almost ready to go. However, rushing straight to your high-wattage settings can still shock the fresh cotton. Just like warming up a car on a chilly winter morning, a new coil benefits greatly from a gentle break-in process.
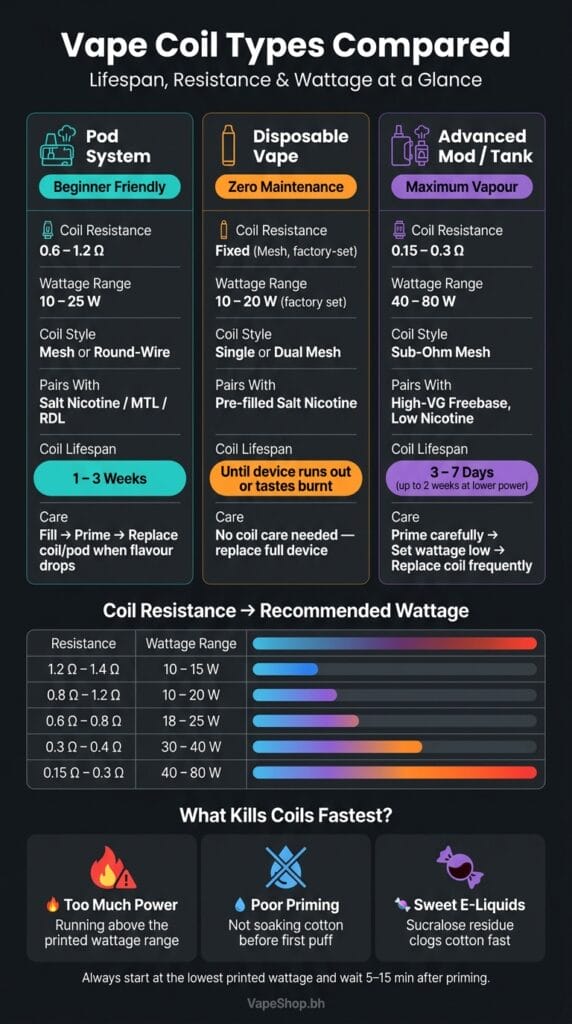
If you are using a device with adjustable power settings, look at the recommended wattage range printed on the side of your coil. Turn your device's power down to the very lowest end of that range—or even slightly below it.
Take a few very short, gentle puffs without inhaling deeply. This initial warmth helps the cotton fibres expand and settle comfortably around the metal heating element.
After a few light draws, increase the power slightly. Take another couple of normal puffs, feeling the warmth of the vapour develop. Continue this gradual process, slowly bringing the wattage up to your preferred sweet spot over the course of your first dozen draws. This slow transition ensures the cotton is never exposed to sudden, intense heat before it has had time to adjust, keeping your flavours crisp, clean, and beautifully defined.
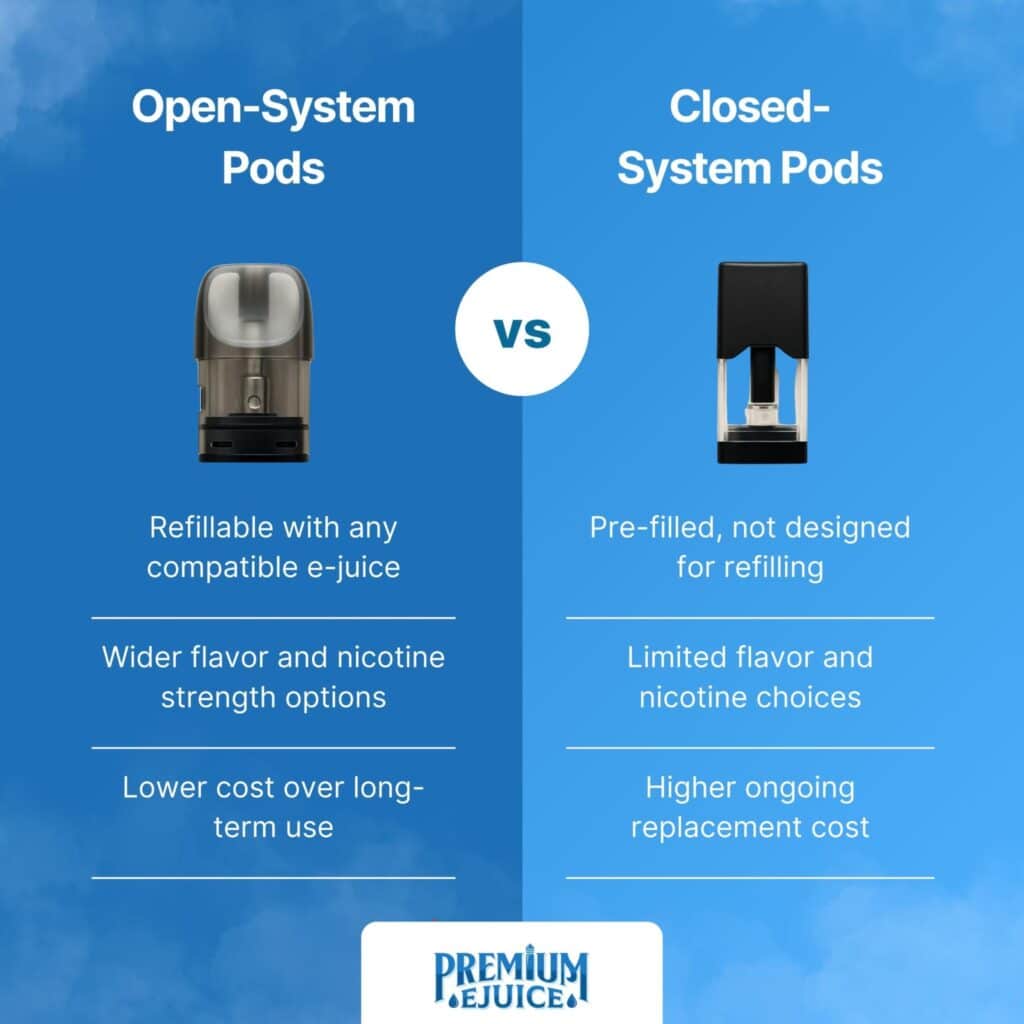
If you prefer a simpler, more streamlined approach to your day without the need for manual priming, adjusting wattages, or changing delicate parts, exploring modern alternatives can be highly rewarding. You might consider trying high-quality, pre-primed disposable options or pod systems that take the guesswork out of the equation entirely. If you want a hassle-free, smooth draw straight out of the box, browse the extensive collection available at vapesunset.com to find a device that fits your lifestyle.
For instance, sleek and effortless setups like the Iget Moon K5000 offer a wonderfully consistent experience with absolutely no maintenance required. Alternatively, if you appreciate longevity combined with the convenience of pre-filled, perfectly calibrated systems, the elegant Iget Bar Plus S3 10000 provides an exceptional depth of flavour from the very first inhale, completely eliminating the risk of accidental dry hits.
Simple Habits to Keep Your Flavour Pure
Priming gets your coil off to the perfect start, but keeping it performing beautifully day after day comes down to a few simple, mindful habits.
- Keep It Topped Up: Never let your e-liquid level fall below the exposed cotton ports on the side of your coil. If the liquid level drops too low, the top of the cotton wick will dry out. When you draw, those dry sections can easily scorch, ruining the entire coil even if the bottom of the tank still has a few drops left.
- Avoid Chain-Vaping: It is easy to get carried away when enjoying a delicious flavour, but taking rapid, successive draws without a pause can easily lead to dry spots. The cotton needs a few seconds between puffs to draw fresh liquid back into its fibres. Giving your device a moment to breathe between draws keeps the wick constantly wet and happy.
- Listen to Your Device: If the vapour starts to feel slightly thin, or if the flavour loses its usual vibrancy, it is often a gentle warning sign that the wick is struggling to keep up. Take a short break, check your liquid level, and let the coil re-saturate.
By taking just a little extra care during those first few minutes with a new coil, you turn a simple maintenance task into a rewarding ritual. Your reward is a consistently smooth, deeply satisfying experience, free from the worry of burnt hits, allowing you to simply sit back, relax, and enjoy your favourite flavours exactly the way they were meant to be tasted.


 UMIN SLICK PLUS 10000
 ALIBARBAR INGOT 9000
 IGET BAR PRO 10000
 IGET ONE 12000
 IGET BAR PLUS S3 10000
 IGET BAR PLUS S3 POD 10000
 IGET MOON K5000
 GEEK BAR PULSE X 25000