











Brand-New Disposable Vape Not Working? Check the Vape Airflow Sticker, Silicone Plug, and Airflow Setup
There is nothing quite as frustrating as cracking open fresh packaging, preparing for a smooth draw, and finding your brand new vape not working at all. You take a pull, but there is no click, no indicator light, and zero vapour. Before assuming you have ended up with a dead-on-arrival dud, take a closer look at the hardware in your hand. In the vast majority of cases, a device that fails to fire straight out of the packet is simply choked by factory transit safeguards. A concealed vape airflow sticker, a forgotten disposable vape silicone plug, or an obstructed air intake switch will prevent air from passing through the internal sensor.
When you encounter a new vape no vapour situation, working through a structured vape setup checklist can quickly sort the problem out. Modern disposables are manufactured with tight seals to prevent leaks, preserve liquid freshness, and stop the device from auto-firing during transit across cargo routes. In this October 2026 troubleshooting guide, we cover the essential mechanical checks every adult vaper should perform to get their device hitting smoothly within seconds.
Why Is Your Brand New Vape Not Working Straight Out of the Box?
Disposable vapes are engineered for convenience. Under the hood, however, they rely on an airflow-activated pressure switch. When you take a puff, the negative pressure created inside the chamber pulls a tiny flexible membrane towards a contact point, completing the circuit between the battery and the heating element.
If ambient air cannot physically enter the intake holes at the base and travel freely past the sensor and coil to the mouthpiece, that electrical circuit will never close. When you open a high-capacity disposable—such as an Alibarbar Ingot 9000 Ribena or a rich flavour profile like the Alibarbar Ingot 9000 Black Forest—manufacturers go to great lengths to lock down the airflow channels during transport.
If any part of that packaging remains attached, you will be sucking against a sealed vacuum. Before tossing the unit into an e-waste bin or heading back to the point of purchase, methodically checking these physical barriers will usually bring the hardware to life.
Step 1: Remove the Vape Airflow Sticker and Base Seals
The most frequent culprit behind an unresponsive disposable is the protective tape placed across the bottom of the casing.
The Purpose of Transit Stickers
During shipping and handling, atmospheric pressure fluctuations—especially during air freight—can cause e-liquid to seep past internal silicone seals. To minimise leakage and keep dirt out of the electronic compartment, factories apply a peel-away plastic or foil seal directly over the base. Crucially, this seal blocks the tiny pinhole air vents and often covers the USB-C charging port.
How to Inspect and Clear the Base
- Examine the Bottom Plate: Turn the device upside down under a bright lamp. Look for a clear, translucent, or bright metallic film stuck tightly across the base plate.
- Check the Seams: Some stickers are perfectly die-cut to fit the perimeter of the base, making them nearly invisible at a casual glance. Run a fingernail along the edge to see if a thin sheet lifts.
- Peel Completely: Pull the tab firmly until the entire sticker comes away. Ensure no transparent adhesive film tears off and remains stuck over the pinhole intake vents.
- Inspect the Intake Holes: Ensure the small holes adjacent to the charging port or LED light are entirely clear of residual glue or paper lint.
A hand plugging a USB-C cable into the charging port of a disposable vape, indicating the device is being charged.
Once the base is completely unsealed, try taking a gentle draw. If the airflow pathway is clear, you will immediately feel the difference in draw resistance.
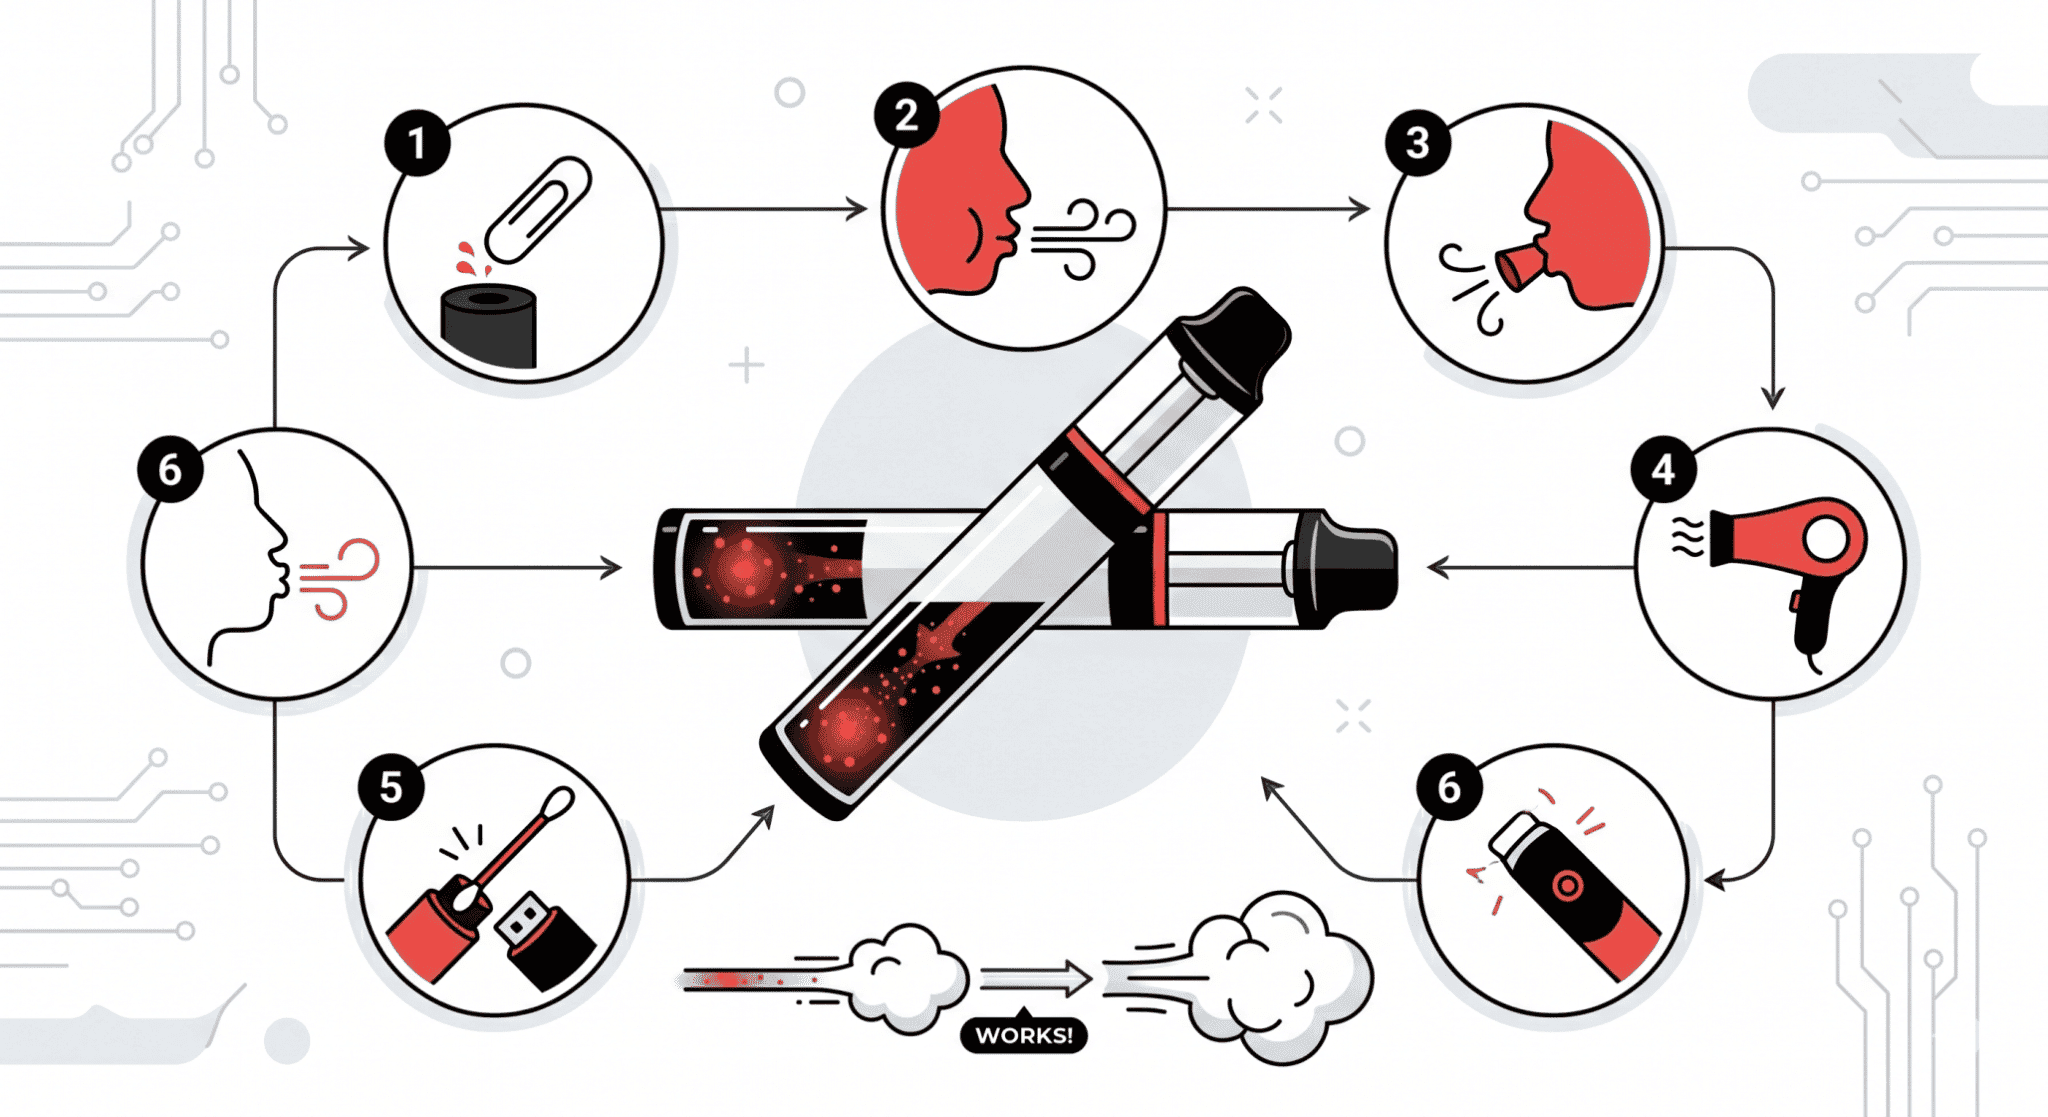
Step 2: Pull the Disposable Vape Silicone Plug from the Mouthpiece
Even if you have peeled off the bottom protective tape, the internal chimney might still be blocked off from above.
Why Mouthpiece Bungs Are Used
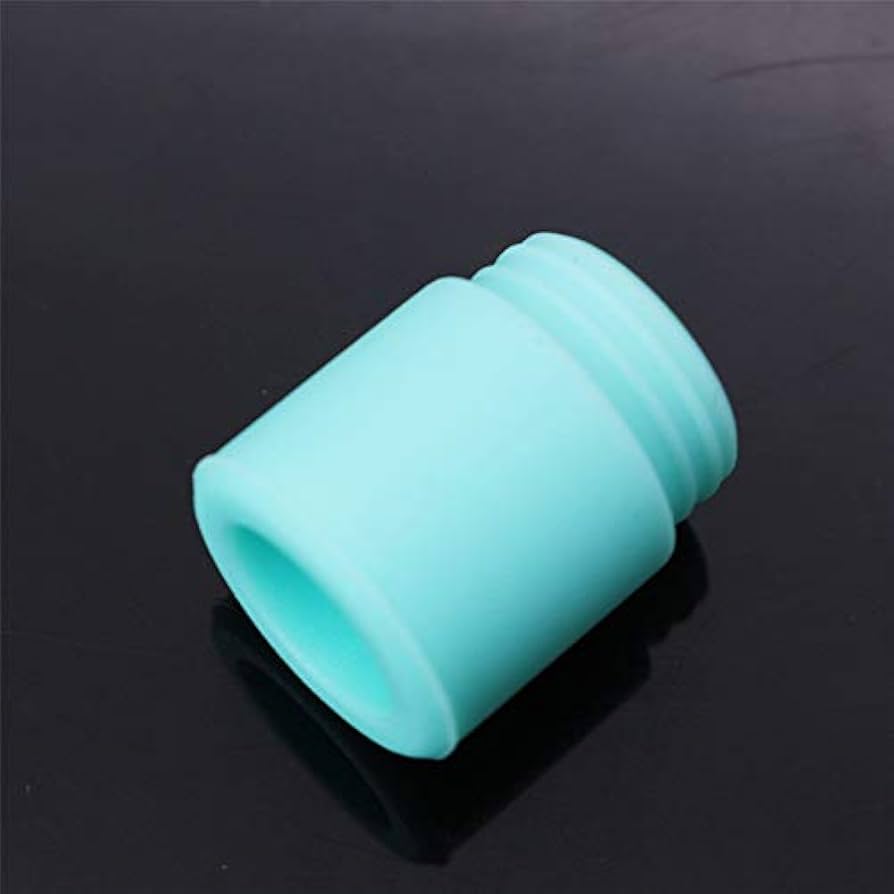
Virtually every modern disposable arrives with a fitted rubber or disposable vape silicone plug inserted directly into the drip tip. In compact pod systems and ergonomic disposables, like those across the Umin collection, these bungs stop condensation from leaking into the packaging and prevent pocket debris from settling inside the airway before first use.
A close-up of a persons fingertip partially covering one of the airflow intake holes at the bottom of a disposable vape device.
Spotting Deep-Set or Detachable Plugs
- Tabbed Bungs: Most silicone bungs feature a prominent pull tab that protrudes several millimetres outside the mouthpiece. These are simple to pinch and pull straight out.
- Flush Bungs: On certain minimalist designs, the rubber stopper sits nearly flush with the mouthpiece opening. Inspect the tip closely to confirm you are looking down into an open metal or plastic chimney rather than a matte silicone plug.
- Internal Tear-Away Seals: Some high-capacity hardware incorporates a long silicone stem that extends all the way down into the core of the coil. When you tug this type of plug, you may feel slight resistance before it pulls free with a soft pop. This action unseals the juice reservoir and primes the wick. If you only tear off the top lip while the rubber stem snaps inside the airway, air cannot move. Always inspect the opening with a torch to confirm the airway is completely hollow.
Step 3: Checking Airflow Control to Fix New Vape No Vapour Faults
Once you have stripped away all transit covers, you might still experience a new vape no vapour condition if your hardware features an adjustable airflow mechanism that is dialled completely shut.
Adjustable Airflow Sliders
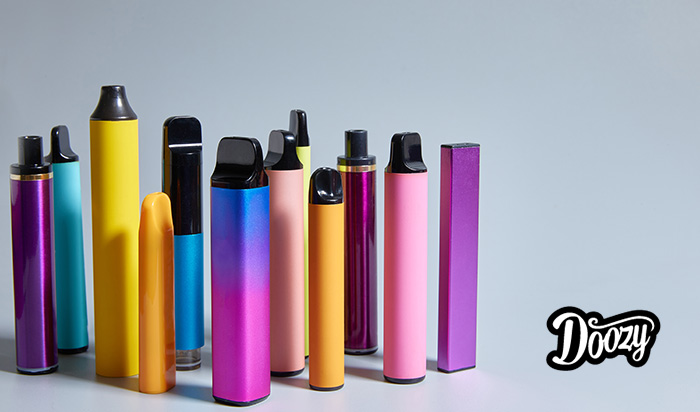
Many higher-puff disposables feature an adjustable toggle, dial, or switch located beside the charging port on the base. This switch allows adult users to alternate between a tight mouth-to-lung (MTL) draw and a looser restricted direct-to-lung (RDL) inhale.
Close-up of the base of a disposable vape showing an adjustable airflow slider or switch positioned near the charging port.
If that switch was bumped into the fully closed position during packing, no air can enter the chamber. Slide the toggle to its widest setting and attempt another draw. If the airflow switch moves freely, test it at the halfway mark to establish whether a balanced resistance allows the sensor to trip.
Clearing Debris and Blocked Channels
Sometimes, bits of stray packaging, cardboard dust, or pocket fluff settle into the airflow holes. Use a dry wooden toothpick or a clean plastic pin to gently probe the external vents. Never insert metal pins deeply into the USB charging port or the internal chimney, as shorting internal terminals or tearing the coil assembly can permanently ruin the device.
Step 4: Battery Checks and Proper Vape Setup for Draw Sensors
If all seals are gone and the airflow slider is wide open, but the device still fails to fire, the issue likely sits with either the battery state or the sensitivity of the internal microphone-style pressure sensor. Fine-tuning your physical vape setup and handling can frequently resolve this.
Battery State and Initial Charging
While disposables are intended to arrive pre-charged, prolonged storage or extreme temperatures during transit can deplete the battery cell.
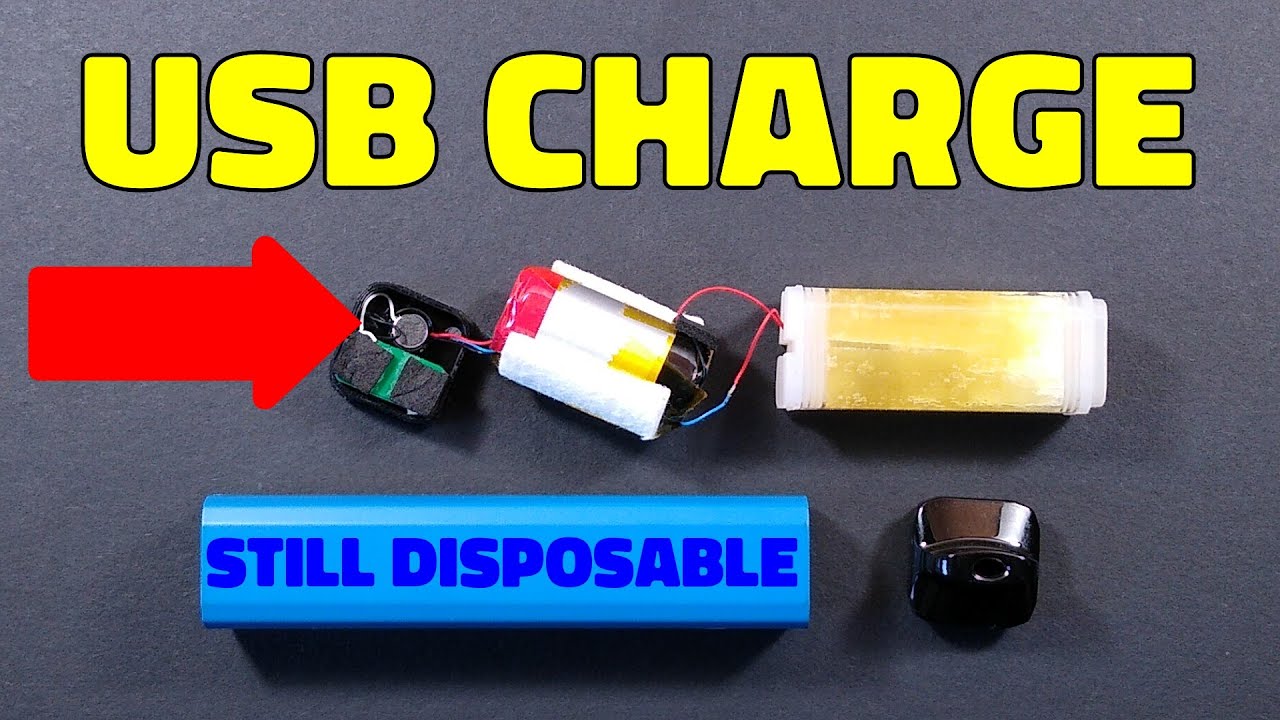
- Rechargeable Models: If your disposable includes a USB-C port, connect it to a standard, low-output 5V/1A wall adapter or computer port for roughly 20 to 30 minutes. Avoid using high-wattage proprietary phone or laptop fast chargers, as their rapid current delivery can trip internal thermal fuses on delicate disposable circuits.
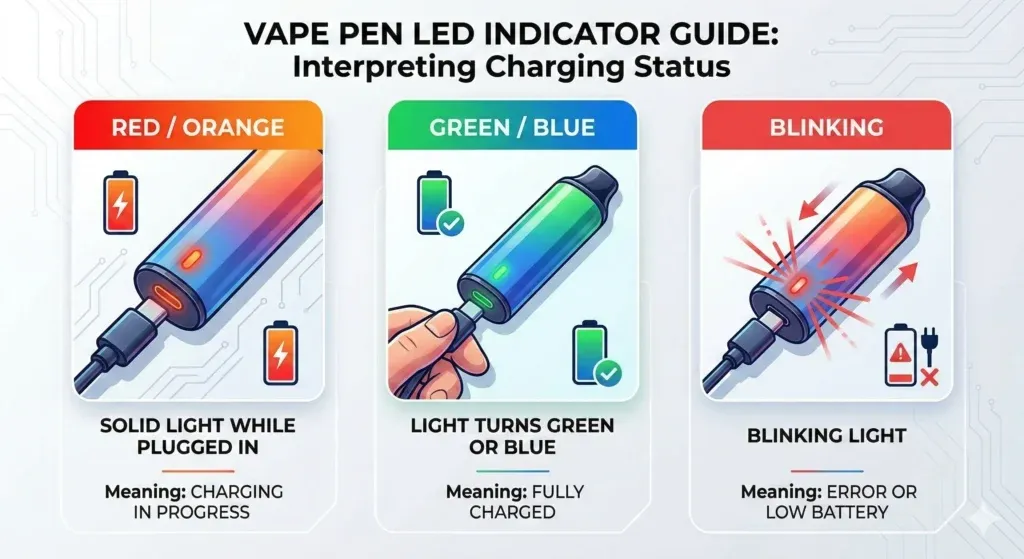
- Observe the LED Behaviour: When you plug the device in, note how the indicator light behaves. A solid light generally indicates active charging, while a light that switches off after half an hour typically denotes a full charge. If the light flashes immediately upon taking a puff, the battery is alerting you to an under-voltage state that requires a charge.
A hand plugging a USB-C cable into the charging port of a disposable vape, indicating the device is being charged.
Perfecting Draw-Activation Technique
A brand-new pressure sensor can occasionally be slightly stiff. A very loose, airy puff might not produce enough suction to pull the internal diaphragm against the switch contact.
To calibrate an insensitive sensor:
- Cover one of the two bottom intake holes with your fingertip to slightly restrict total airflow.
- Take a slightly firmer, steady two-second draw through the mouthpiece.
- This creates a stronger drop in internal pressure, often freeing up a sluggish sensor diaphragm and initiating the firing cycle. Once activated the first time, the sensor typically functions normally on standard draws thereafter.
A new disposable vape showing a brightly colored silicone plug inserted into its mouthpiece, ready to be removed.
Troubleshooting Summary: Out-of-the-Box Disposable Issues
The table below outlines common faults encountered with factory-sealed disposables, their root causes, and practical fixes.
| Issue Description | Likely Root Cause | Immediate Action | Secondary Fix |
|---|---|---|---|
| Completely locked airflow; cannot inhale any air | Bottom sticker or mouthpiece bung still attached | Check base plate for clear film and pull silicone bung from tip | Verify internal chimney is free from torn silicone fragments |
| Airy inhale, but LED does not illuminate and no vapour forms | Fully closed airflow switch or insensitive pressure sensor | Open bottom airflow toggle; cover one vent hole slightly and draw firmly | Inspect base vents for trapped cardboard dust or lint |
| LED flashes rapidly on the very first puff | Battery cell depleted during storage or transit | Connect to a 5V/1A USB-C power source for 20 minutes | Ensure charging cable is seated flush in the port |
| Gurgling sound, liquid spit-back, but weak vapour production | Transit condensation or pooled e-liquid in the chimney | Tap device gently downwards onto a paper towel | Run a rolled paper towel corner down the mouthpiece tip |
| LED lights up normally, but vapour tastes dry or faint | E-liquid not fully settled onto the coil wick | Let the device sit upright for 5 minutes after unsealing | Avoid chain puffing; allow 15 seconds between test draws |
Australian Consumer Rights, Faulty Devices, and Safe Disposal
If you have methodically peeled the base film, discarded the silicone stopper, opened the airflow slider, charged the battery, and the unit remains completely unresponsive, you are likely holding a genuinely defective product.
Understanding Consumer Guarantees
Under the Australian Consumer Law (ACL), products sold to consumers must be of acceptable quality, fit for purpose, and match their description. A brand-new electronic device that fails to work straight out of the sealed packet is considered to have a major fault.
When dealing with a dead-on-arrival unit:
- Keep Packaging: Retain the original box, serial numbers, anti-counterfeit scratch codes, and your tax receipt. Retailers and distributors require these to process batch defect claims with manufacturers.
- Do Not Dismantle the Shell: Never attempt to pry open the plastic or aluminium casing with pliers or knives to inspect the wiring. Opening the housing exposes the lithium-ion cell, creates a significant short-circuit hazard, and immediately voids your statutory return rights.
- Contact the Retailer Promptly: Reach out to the store or vendor where you acquired the item as soon as you identify that standard troubleshooting does not resolve the issue.

Close-up of a hand peeling a clear protective sticker from the bottom plate of a disposable vape device, revealing airflow holes.
Safe Recycling and Battery Disposal
If a non-rechargeable or rechargeable disposable is deemed unusable and cannot be returned, it must never be thrown into domestic kerbside rubbish or standard recycling bins. Disposable vapes contain integrated lithium-ion batteries that pose severe fire risks in collection trucks and waste sorting facilities.
Take unusable units to a designated battery recycling drop-off point, such as a B-cycle collection hub, council transfer depot, or participating local supermarket drop point, ensuring that valuable materials are reclaimed safely.
Final Review: Your 30-Second Setup Checklist
Before concluding that your new disposable vape is broken, run through this quick checklist:
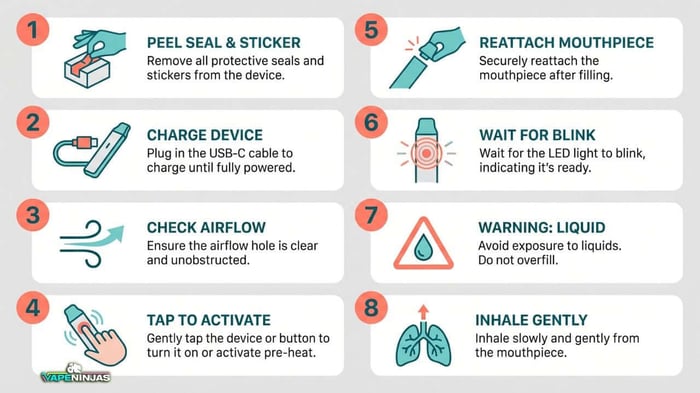
- Base Seal: Did you peel the clear protective sticker off the bottom?
- Mouthpiece Bung: Did you pull the silicone stopper completely out of the top chimney?
- Airflow Toggle: Is the adjustable air slider or switch positioned at least halfway open?
- Battery Status: Have you connected the unit to a 5V/1A charger to verify the battery is not flat?
- Draw Pressure: Have you tried a slightly firmer puff with one intake hole partially restricted to wake up the sensor?
By checking the sticker, plug, and airflow pathways first, you will resolve almost all out-of-the-box performance issues and get straight back to a smooth, flavourful vape without unnecessary hassle.



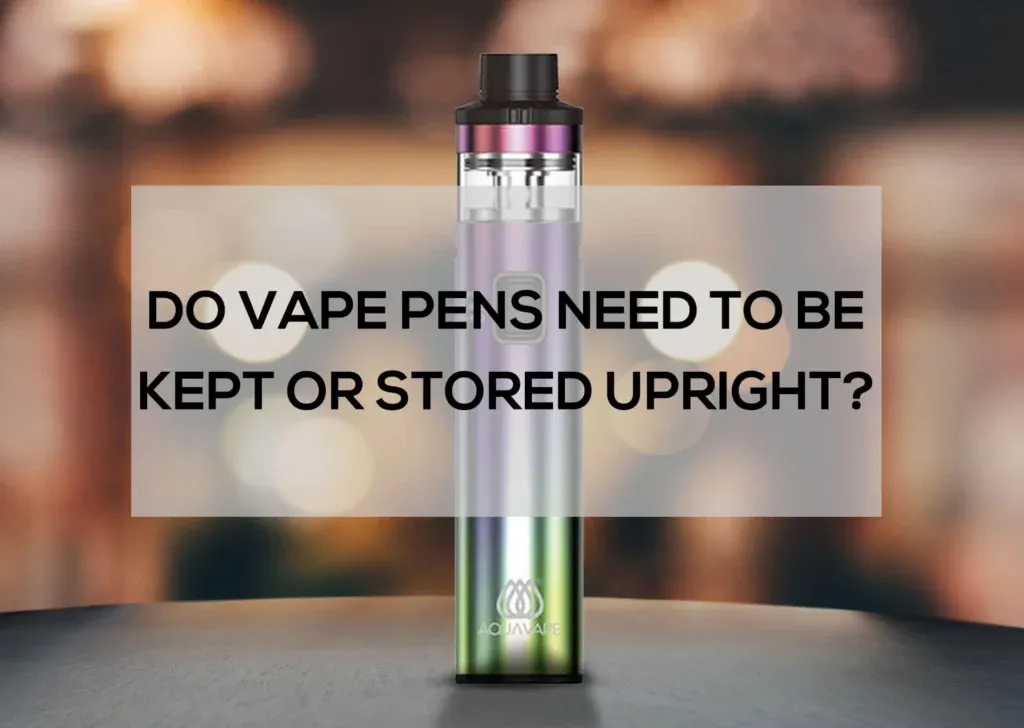
 UMIN SLICK PLUS 10000
 ALIBARBAR INGOT 9000
 IGET BAR PRO 10000
 IGET ONE 12000
 IGET BAR PLUS S3 10000
 IGET BAR PLUS S3 POD 10000
 IGET MOON K5000
 GEEK BAR PULSE X 25000