











Why Is My Disposable Vape Not Hitting? Common Causes and Troubleshooting Fixes
There is nothing more frustrating than opening a brand-new device or picking up your everyday vape, taking a draw, and getting absolutely nothing in return. When you find your disposable vape not working, it can feel like you have wasted your hard-earned money on a dud. Whether your device is completely unresponsive, the indicator light is blinking endlessly, or your vape not hitting despite the light turning on, you do not have to toss it into the bin right away. With a structured approach to disposable vape troubleshooting, you can quickly diagnose the root cause and potentially get your device back up and running.
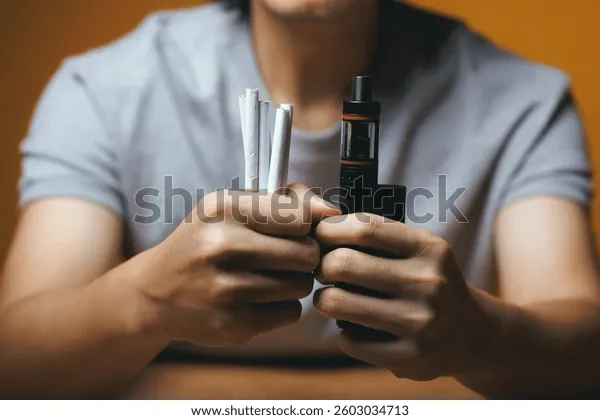
A close-up of a disposable vape with its LED indicator light illuminated, but no visible vapor coming from the mouthpiece, illustrating a common issue.
In this guide, we will break down the most common reasons why single-use and rechargeable disposable vapes stop producing vapour, offer practical step-by-step solutions, and explain how to tell when a device has simply reached the end of its lifespan.
Understanding the Basics of Disposable Vape Troubleshooting
Before attempting any fixes, it helps to understand how a standard disposable vape operates. Most disposables rely on a compact, integrated system containing a battery, a reservoir saturated with e-liquid, a heating coil, and an airflow sensor.
When you inhale through the mouthpiece, the airflow sensor detects the negative pressure and signals the battery to send power to the heating coil. The coil heats up almost instantly, vaporising the e-liquid held in the internal wick. If any single link in this chain fails—whether the sensor fails to register your breath, the battery cannot deliver current, or airflow is physically blocked—the device will fail to fire.
By systematically checking each component, you can isolate whether the problem is a simple obstruction, an uncharged battery, or a permanent internal fault.
Indicator Light on But Vape Not Hitting: Why It Happens
One of the most perplexing issues vapers encounter is taking a puff, seeing the bottom LED indicator illuminate normally, yet inhaling thin air with zero vapour production. When an indicator light responds to your draw, it confirms that the airflow sensor and battery are functioning, but power is failing to reach or heat the coil properly.
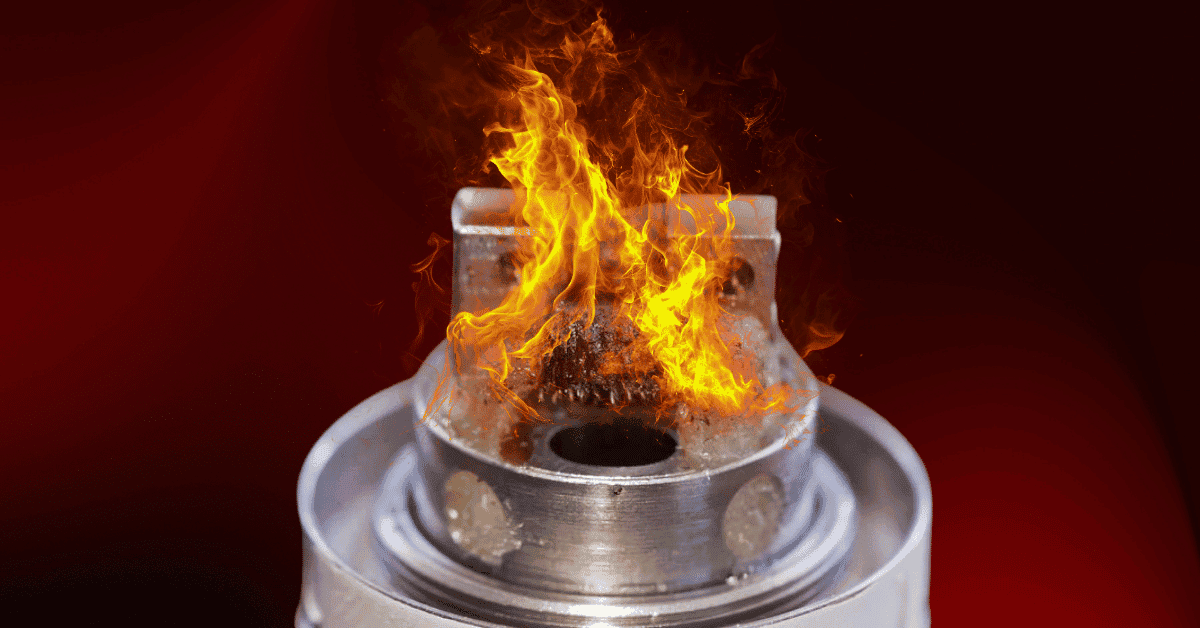
A close-up image of a burnt or scorched cotton wick and heating coil inside a vape, indicative of a burnt taste issue.
[Inhalation Detected] ➔ [Sensor Activates LED] ➔ [Circuit Interrupted] ➔ [No Heat / No Vapour]
Here are the primary reasons why your disposable vape might light up without producing vapour:
1. Disconnected or Misaligned Heating Element
During transit or after an accidental drop, the delicate internal wiring connecting the battery terminal to the atomiser coil can shift or break. When this occurs, the circuit to the sensor remains intact (allowing the LED to light up), but the circuit to the coil is broken.
2. Saturated or Depleted Wick
If the device has been stored on its side or in extreme temperature shifts, the internal e-liquid may have settled unevenly away from the coil. Conversely, if you have taken hundreds of puffs and the liquid is entirely depleted, the coil will heat dry cotton without producing visible vapour. If you notice strange noises before a device cuts out, learning why is my vape crackling can help you understand how liquid saturation and coil heat interact inside an atomiser.
Clearing Blockages When Your Disposable Vape Is Not Working
Physical obstructions in the air pathway are among the simplest and most frequent causes of a non-responsive disposable. Because these devices are frequently carried in pockets, handbags, and backpacks, fluff, dust, and dried e-liquid residue can easily collect inside the mouthpiece or the tiny air intake holes at the base.
Step-by-Step Airflow Clearing
- Inspect the Mouthpiece: Look straight down into the draw hole under a bright light. If you see lint, pocket debris, or condensed droplets, do not blow forcefully into the mouthpiece, as this can force debris deeper into the internal chamber.
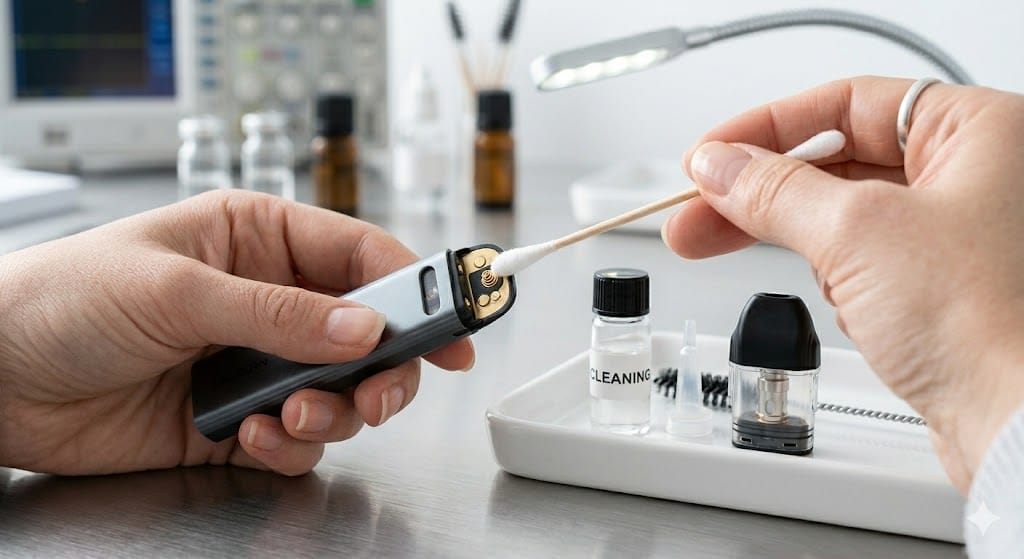
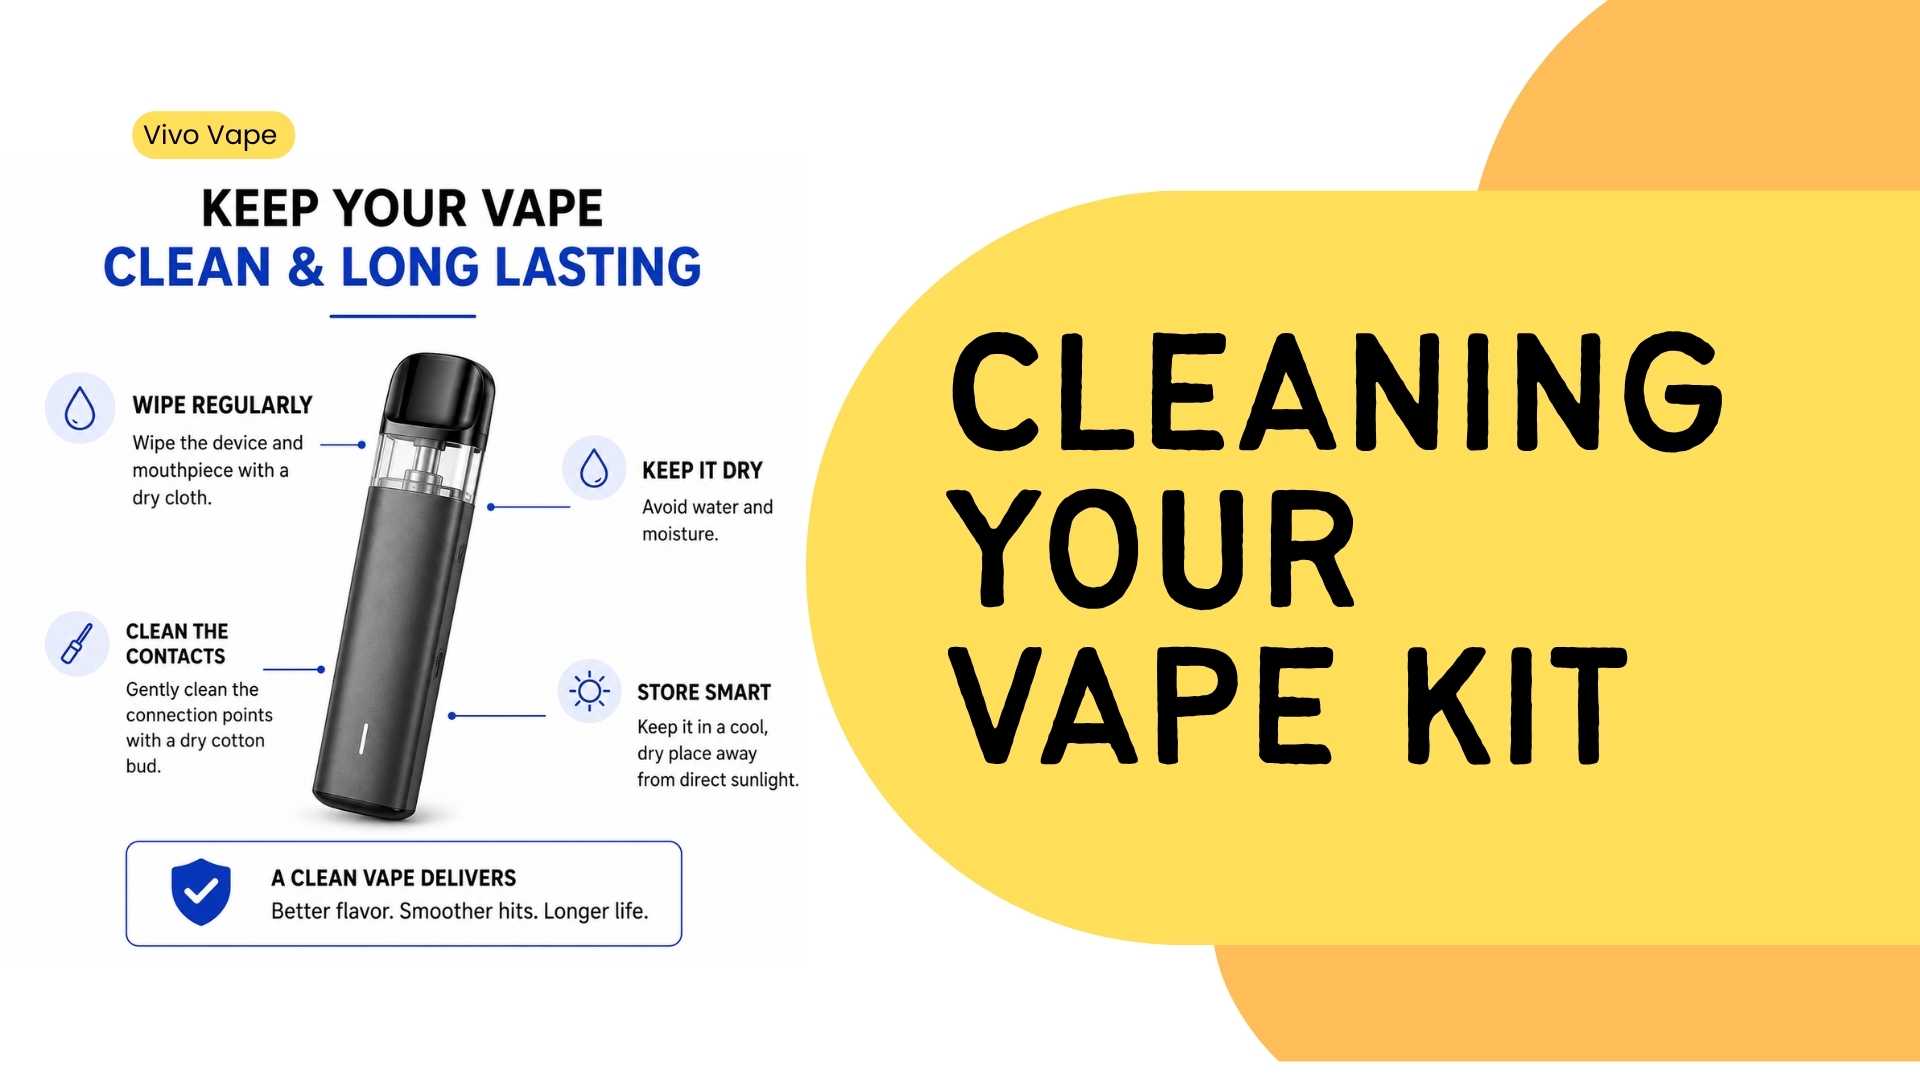
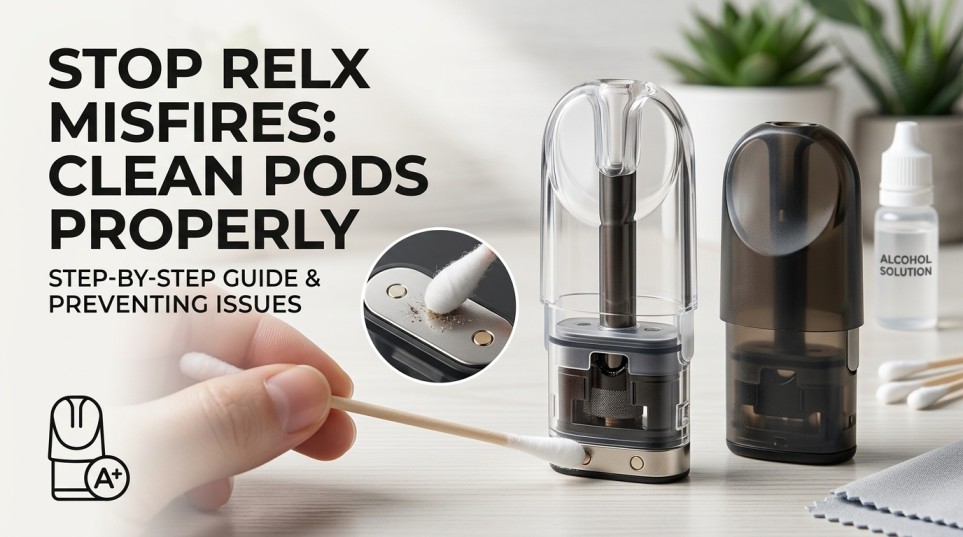
- Clear Debris with a Tool: Take a clean wooden toothpick or a dry cotton bud and gently swirl it around the inside rim of the mouthpiece to dislodge any trapped buildup.
- Check the Bottom Air Intakes: Disposables feature small air intake pinholes, usually located near the base or around the charging port. Ensure these tiny openings are not blocked by dried residue or covered by your fingers while drawing.
- Test with a Gentle Draw: Once cleared, take a soft, prolonged draw to see if normal airflow and vapour production are restored.
A hand using a wooden toothpick or cotton bud to gently clean debris from the mouthpiece of a disposable vape.
Multi-Click Buttons and Unlocking Device Features
While traditional disposables are purely draw-activated, an increasing number of modern devices incorporate physical control buttons for safety and output regulation. If you have purchased a newer model with a physical button, it may simply be switched off or locked.
Many multi-function disposables feature a child-lock or travel-lock mechanism designed to prevent accidental firing inside pockets:
- Five Rapid Clicks: The industry standard for powering on or unlocking an electronic vape device is pressing the main button five times in rapid succession (within two seconds).
- Three Rapid Clicks: Some units utilise a three-click sequence to cycle between power modes or toggle child locks.
If your button-operated disposable does not fire on a single press, perform five quick, firm presses on the button and watch for a confirmation flash from the LED indicator. Once unlocked, the device should fire either upon pressing the button or through normal auto-draw inhalation.
Battery Depletion, Rechargeable Disposables, and Charging Quirks
A large proportion of higher-capacity disposable vapes are equipped with rechargeable lithium-ion cells to ensure users can vaporise all the e-liquid inside the tank. If your rechargeable unit has stopped hitting, the battery may simply have dropped below the required operating voltage.
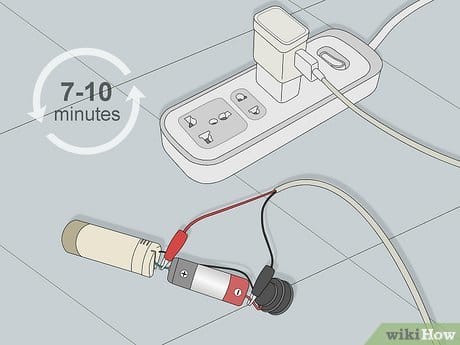
A rechargeable disposable vape device connected to a USB-C charging cable, indicating battery replenishment.
Battery Depleted ➔ Rapid Blinking LED (8–10 times) ➔ Zero Vapour ➔ Needs USB Recharge
Common Battery Symptoms and Diagnostic Steps
- Rapid Blinking LED: When taking a puff causes the indicator light to flash repeatedly (often 8 to 10 times in a row) without vapour, the battery is out of charge and needs to be plugged in.
- Inspect the USB Port: Dirt and pocket lint can pack tightly into Type-C or Micro-USB charging ports. Use a dry wooden toothpick to gently sweep out any fluff that might prevent the charging cable from seating firmly.
- Switch Cables and Power Outlets: Low-quality charging cables or faulty wall adapters can fail to deliver consistent power. If the device does not show a steady charging light when plugged in, switch to an alternate cable and a standard, steady power source such as a computer USB port or a standard wall charger.
- Allow Adequate Time: A completely drained disposable battery may take 5 to 10 minutes on a charger before the indicator light even illuminates. Allow the unit to sit for at least 30 to 45 minutes before testing.
Common Disposable Vape Issues & Troubleshooting Steps
To make diagnosing your device straightforward, use this quick reference table to match the symptoms you are experiencing with the most probable cause and recommended fix.
| Symptom / Observation | Probable Underlying Cause | Recommended Troubleshooting Action |
|---|---|---|
| LED turns on, but no vapour is produced | Broken internal coil connection or depleted liquid reservoir | Check airflow passages; if clear, internal element has failed permanently. |
| LED blinks rapidly (8–10 times) on inhale | Battery voltage has dropped below operational threshold | Recharge the device using a functional USB cable, or replace if non-rechargeable. |
| Draw feels completely blocked / tight | Mouthpiece clogged with pocket lint or hardened condensation | Gently clean the mouthpiece and base air holes with a clean toothpick. |
| Device is button-equipped but unresponsive | Child lock or safety shut-off is engaged | Press the fire button 5 times rapidly to unlock the internal circuit. |
| Burnt taste on draw with harsh vapour | Wick is dry, liquid is finished, or coil was fired dry | Discontinue use; a burnt wick cannot be restored and the unit must be replaced. |
| No light, no vapour, zero response to puff | Completely dead battery or faulty draw-activation sensor | Try recharging if rechargeable; check intake holes for blockages. |
Modern Hardware Quality and Choosing Reliable Devices
As the vaping market evolves, build quality and manufacturing standards play an enormous role in device reliability. Cheaper, poorly constructed disposables frequently suffer from loose internal solders, misaligned sensors, and high failure rates straight out of the box.
When choosing modern hardware, opting for reputable manufacturers that utilise high-grade materials and rigorous quality control dramatically reduces the likelihood of encountering dead-on-arrival units. Exploring well-engineered brands such as Umin ensures you are using devices with consistent airflow paths and dependable circuitry. Furthermore, consumers looking into overall safety and product standards often research what is the healthiest vape setup to understand how regulated components and lab-tested hardware protect against device failures.
When to Stop Disposable Vape Troubleshooting and Replace the Device
While basic troubleshooting can resolve airflow obstructions, locked buttons, and simple charging faults, there comes a point where an unresponsive disposable cannot—and should not—be repaired at home.
1. Burnt or Acrid Taste
If your vape hits but produces a sharp, acrid, burnt flavour, the cotton wick surrounding the coil has dried out and scorched. Once the wick material burns, the flavour is permanently ruined, and continuing to puff on it will only produce harsh, unpleasant vapour.
An internal diagram or cutaway view of a disposable vape showing its battery, e-liquid reservoir, heating coil, and airflow sensor.
2. Suspected Internal Component Failure
If your device has sustained heavy physical damage, has been submerged in water, or refuses to light up despite extensive charging, the internal electronics have likely failed. Never attempt to pry open, disassemble, or rewire a disposable vape casing. Single-use devices contain sealed lithium-ion cells that can short-circuit, overheat, or present serious hazards if punctured or tampered with using household tools.
3. Faulty on Arrival (Duds)
If a brand-new disposable fails to fire straight after opening, it is almost certainly an unavoidable factory defect. Reputable retailers recognise that manufacturing anomalies occasionally occur across mass-produced electronics. Rather than attempting forceful DIY repairs, retain the original packaging, stop using the device, and contact your retailer for an exchange or refund under their standard return policy.
Practical Summary for Unresponsive Vapes
Dealing with an unresponsive vape does not have to ruin your day. Whenever you find your device failing to fire, remember this straightforward checklist:
- Verify Power: If it has a button, click it rapidly five times. If it has a charging port and flashes repeatedly, connect it to a reliable USB charger for 45 minutes.
- Clear the Airway: Inspect the mouthpiece and base intake holes for lint or debris, clearing them gently with a toothpick.
- Assess the Indicator Light: If the light illuminates but no vapour emerges, test the draw resistance; if the draw is clear, an internal connection has failed.
- Know When to Replace: If the device tastes burnt, has suffered physical trauma, or remains completely unresponsive after charging, retire the unit safely and replace it with a fresh, quality-tested device.




 UMIN SLICK PLUS 10000
 ALIBARBAR INGOT 9000
 IGET BAR PRO 10000
 IGET ONE 12000
 IGET BAR PLUS S3 10000
 IGET BAR PLUS S3 POD 10000
 IGET MOON K5000
 GEEK BAR PULSE X 25000